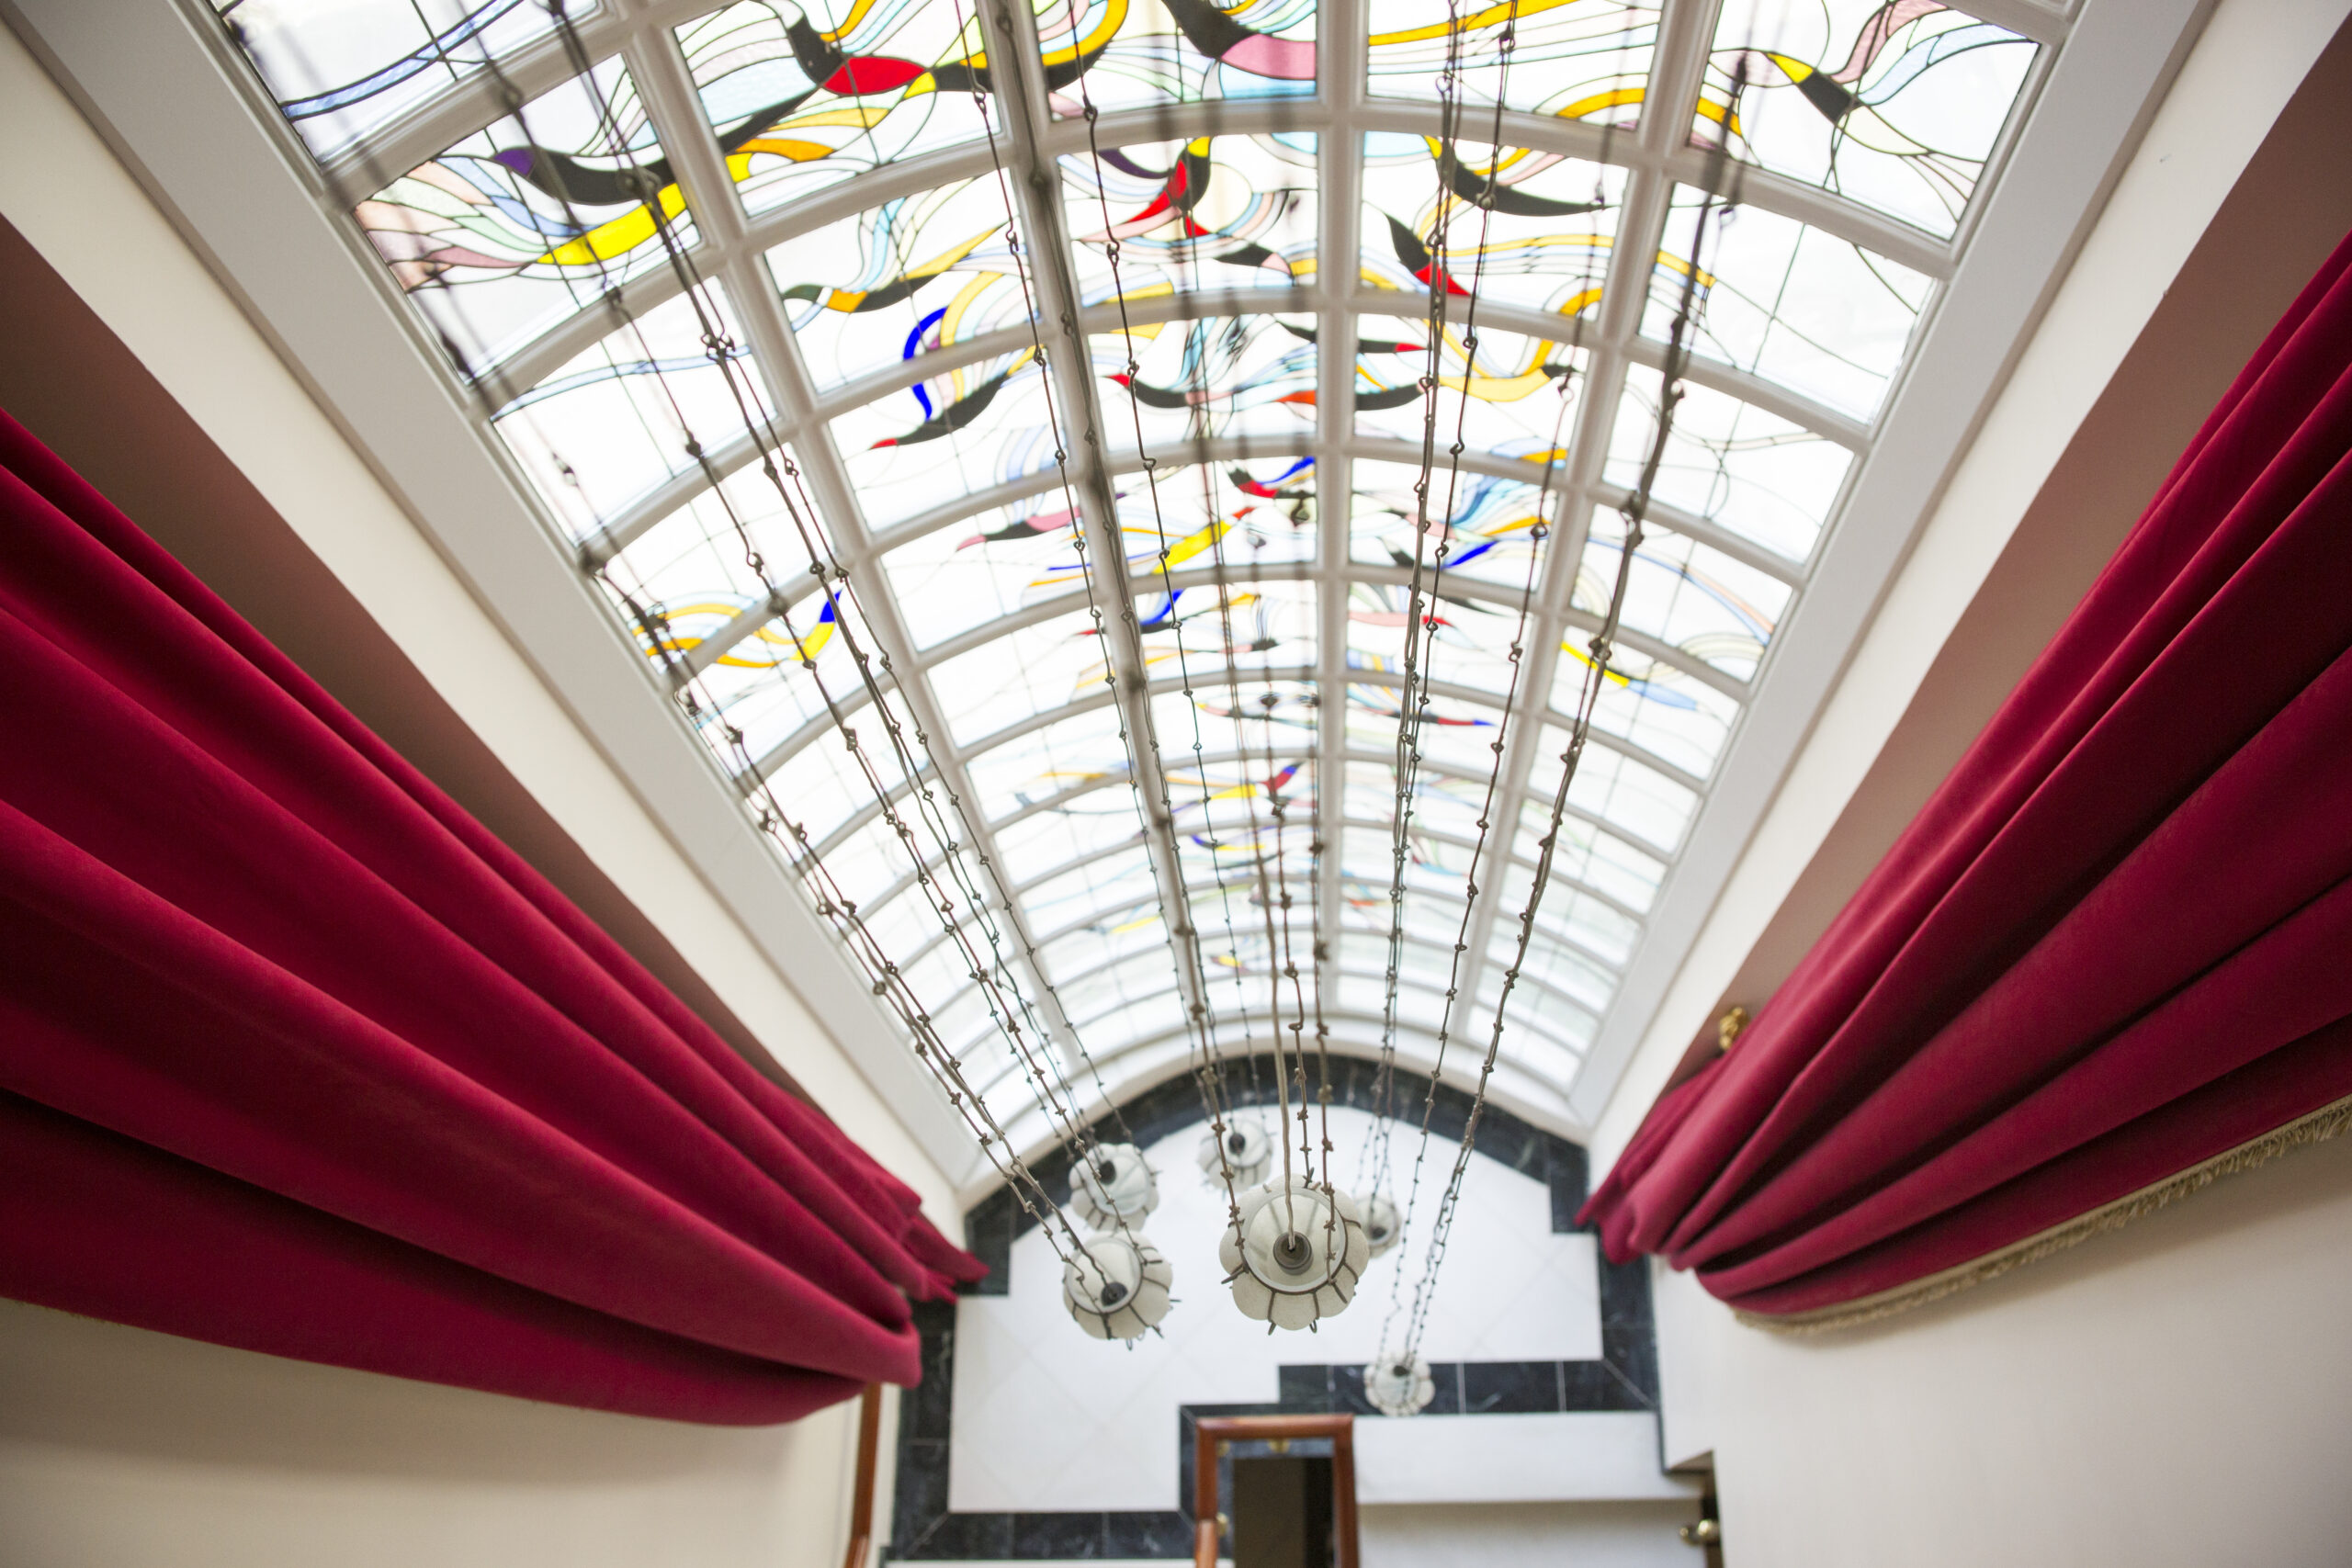
Vaulted ceilings can give a room a spacious and architectural appearance, but their unusual angles can make traditional trim installation more complicated. Crown molding can still be incorporated when the ceiling design and wall transitions are carefully considered. Crown molding vaulted ceiling designs require attention to angles, proportions, transitions, and installation methods so the trim complements rather than competes with the height of the room. The right approach depends on the ceiling pitch, wall height, room dimensions, and existing architectural details. From stepped transitions to custom trim solutions, several options can help create a finished appearance while maintaining the distinctive character of a vaulted ceiling.
Understanding Vaulted Ceiling Geometry
A vaulted ceiling rises higher than a conventional flat ceiling and can take several forms. Some designs have a simple slope, while others feature multiple angles or intersecting roof lines.
The ceiling’s geometry determines how crown molding can be installed. Before selecting trim, it is important to identify where the walls meet the sloped surfaces and whether those transitions are consistent throughout the room.
Why Crown Molding Can Be Challenging
Traditional crown molding is generally designed to sit between a vertical wall and a horizontal ceiling. A vaulted ceiling changes that relationship because the ceiling may rise at an angle.
Installing standard molding continuously along a slope can create gaps or awkward transitions. The trim therefore needs to be selected and positioned according to the specific ceiling geometry.
Choosing the Right Trim Profile
The size and shape of the molding should correspond to the scale of the room. Large rooms with tall walls can often accommodate wider profiles, while smaller spaces may look better with simpler trim.
A highly detailed profile can emphasize architectural character, whereas a clean, streamlined design can provide a more contemporary appearance.
Following the Ceiling Slope
In some vaulted rooms, molding can follow the slope of the ceiling. This creates a continuous visual connection between the walls and the raised ceiling.
The molding must be cut at accurate angles so adjoining sections meet properly. Because the slope can vary between different parts of the room, careful measurements are essential.
Creating a Transition Point
Instead of forcing crown molding to follow every angle, some designs introduce a deliberate transition. The molding can stop at a specific architectural point and connect with another trim element.
A transition can make an unusual ceiling shape look intentional. It may also simplify installation when different sections of the ceiling have significantly different slopes.
Using a Flat Trim Band
A flat trim band can sometimes work better than traditional crown molding in rooms with complex ceiling angles. It can create a visual boundary without requiring the same compound-angle cuts as a conventional crown profile.
This approach can be particularly useful for contemporary interiors where clean architectural lines are preferred.
Considering Tall Walls
Vaulted ceilings often create taller wall surfaces, which can change the visual proportions of the room. Crown molding can help define the transition between wall and ceiling while adding detail to an otherwise large vertical area.
The molding should be scaled appropriately so it remains visible without making the upper portion of the room feel excessively heavy.
Matching Existing Trim
If the room already has baseboards, door casings, window trim, or other architectural details, the crown molding should coordinate with them.
Matching does not always require using identical profiles. Similar proportions, shapes, and finishes can create a cohesive relationship between the different trim elements.
Using Multiple Trim Layers
Layered molding can create a more substantial architectural effect. A simple base profile can be combined with additional flat boards or smaller decorative pieces.
This approach can be useful in large rooms where a single narrow molding profile may appear visually insignificant against the scale of the ceiling.
Considering the Room’s Style
Traditional interiors may suit detailed molding with decorative profiles, while modern spaces may benefit from simpler trim.
The ceiling itself should guide the design. If the vaulted structure already has exposed beams or strong architectural lines, understated molding may prevent the room from appearing visually overloaded.
Working Around Exposed Beams
Some vaulted ceilings include decorative or structural beams. Crown molding should be planned around these elements rather than competing with them.
The molding can terminate near a beam, transition beneath it, or be integrated with surrounding trim depending on the room’s construction.
Using Paint to Define the Trim
Color can make crown molding more noticeable or allow it to blend with the architecture. Painting the molding the same color as the ceiling can create a subtle effect, while a contrasting finish can emphasize the trim.
The choice should consider wall color, ceiling color, natural light, and other architectural details.
Installing Molding on Angled Walls
Some vaulted designs include angled wall sections in addition to sloped ceilings. These areas require careful measurement because standard 90-degree assumptions may not apply.
Templates, angle measurements, and test cuts can help achieve cleaner joints. It is often useful to test a small section before cutting the entire run of molding.
Planning Inside and Outside Corners
Corners require particular attention during installation. The angles in a vaulted room may differ from conventional square corners.
Accurate coping, mitering, or other suitable joining techniques can create cleaner connections. The appropriate method depends on the molding profile and the geometry of the room.
Considering Flexible Molding
Flexible molding products can sometimes be useful for unusual curves or architectural transitions. They can conform to shapes that would be difficult to reproduce using rigid trim.
However, the material must be appropriate for the intended location and finish. Not every flexible product has the same appearance or durability as traditional wood or composite molding.
Planning the Installation Height
The height at which molding is installed can influence the room’s proportions. In a vaulted room, there may not be a single horizontal line around the entire perimeter.
The design should establish where the trim begins and how it responds to changes in ceiling height. Consistency within each architectural section is important for a polished appearance.
Considering Lighting
Lighting can highlight crown molding and make ceiling transitions more visible. Recessed fixtures, wall sconces, pendant lights, and indirect lighting can all interact with the trim.
If accent lighting is planned, the molding profile and installation depth should provide enough space for the intended lighting system without creating unwanted shadows.
Preparing the Surface
Before installation, walls and ceiling surfaces should be checked for uneven areas. Small irregularities can become more noticeable when long lengths of molding are installed.
Proper preparation can improve the fit of the trim and reduce visible gaps. Caulking and finishing may also be needed to create smooth transitions between the molding and surrounding surfaces.
Considering Material Choices
Crown molding can be made from wood, MDF, polyurethane, PVC, and other materials. Each option has different characteristics regarding weight, moisture resistance, workability, and finishing.
The choice should take into account the room environment, desired appearance, installation method, and budget.
Maintaining Architectural Balance
The goal of crown molding is to complement the vaulted ceiling rather than hide its character. The trim should follow or frame the architecture in a way that feels intentional.
Too much decorative detail can compete with the ceiling’s natural shape, while extremely small molding may disappear within a tall room. Proportion is therefore one of the most important design considerations.
Final Thoughts
Crown molding can add definition and architectural character to a vaulted room, but it requires more planning than installation on a standard flat ceiling. Ceiling angles, wall height, trim profile, corners, beams, lighting, and existing architectural details should all be considered before installation. Whether the molding follows the slope, stops at a transition, or uses a simpler trim band, the final design should work with the geometry of the room. Careful measurements and thoughtful proportions can create a finished appearance that enhances the vaulted ceiling without overwhelming it.
FAQs
Can crown molding be installed on a vaulted ceiling?
Yes. It can be installed in several ways depending on the ceiling’s slope, wall height, and architectural configuration.
Should crown molding follow a vaulted ceiling?
It can, but following the slope is not the only option. Some designs use transition points, flat trim bands, or other architectural details.
What size crown molding works with high ceilings?
Larger rooms and taller walls can generally accommodate wider molding profiles, but the appropriate size depends on the room’s proportions and overall design.
Can crown molding work with exposed beams?
Yes. The trim can be planned around beams or integrated with other architectural details so that the different elements work together.
What material is suitable for vaulted ceiling molding?
Wood, MDF, polyurethane, PVC, and other materials can be used. The best choice depends on the desired appearance, room conditions, installation requirements, and budget.
One thought on “Crown Molding Vaulted Ceiling Ideas for a Beautiful Interior”